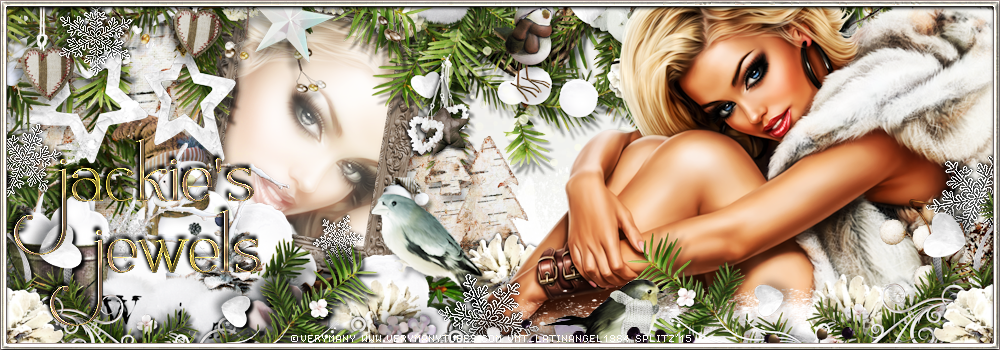
CLICK FOR FULL SIZE.
This tutorial was written by me, any resemblance to any other tutorial is completely unintentional.
PSP version used: PSP X2
Supplies:
Tube- I'm using an awesome exclusive tube Jackie by Swt MeloDe for The Art Of Giving, a fantastic organization that gives back to the people who need it in the PSP community. You can purchase it and their other AOG Exclusives at The Art Of Giving.
Scrap Kit of choice- I used the kit Jackie, which was made exclusively for the tube I am using, it can also be found at The Art Of Giving!
Scrap Kit of choice- I used the kit Jackie, which was made exclusively for the tube I am using, it can also be found at The Art Of Giving!
Template- Template 415 by Missy, grab that at Divine Intentionz.
Font- Ladybug FTU font
Filters- VanDerLee>Unplugged X
dsb flux> Bright Noise
Penta.com> Color Dot
Xero> Radiance
Open up your template, and resize all layers to 600 x 492.
Resize Canvas 650 x 650.
Open your full sized tube, resize to 70%, copy and paste.
Now go down to your Square 1 layer.
Open up PP14, c & p. Duplicate, and put one under and one under Square 1.
Select Square 1 again, select all, float, defloat, invert.
Click on paper underneath, delete.
Do the same with Square 2, and the duplicated layer.
Do this with papers of choice to each layer. :)
Frames, just add dsb flux> Bright Noise, 50 3 times.
Open up close up2, resize 80% duplicate twice, and line up under the frames.
magic wand inside of frame, modify> Expand, 3. Invert, delete, on all three close ups.
Top close up layer, duplicate, blend mode- screen.
Now do VanDerLee> Unplugged X> Pattern Offset, reduce to 25.
Do the same to the other 2 layers.
Go back to the middle square layer, merge the two, and select all, float, defloat, modify, 4.
New raster layer, fill with the green color from the tubes shirt.
dsb flux> Bright Noise> 50, twice.
Now go down to your two bottom squares, and merge them together.
Use plug-in> Penta.com> color dot with these settings>
90, 6, 255, 255, 255
Back to the tube, Plug-in> xero> Radiance:
Now for the elements!
Barbed Wire Heart- 30%
BeadScatter- 70%, duplicate twice, position all over.
Cupcake- 20%
Sunglasses- 20%
Lipstick-20%
Pearlbox- 20%
Perfume- 40%
Brooch-30%
CurledRibbon- 40%
Tribal Orchid- Mirror, Flip, Resize 50%
Duplicate, Mirror, Flip.
Keychain- 30%
Now do your name, I used Ladybug Font, size 72 px. with the same color I used on the bright noise layer. Added Eye Candy 4000> Gradient Glow, medium, with these settings:
Gradient Glow> Black Halo, with the same settings above.
Add your drop shadow to all layers.
Put your copyright on there, and
BAM!
All done!!!!!
Hope you enjoyed my tutorial! :) Thanks for checking it out, and please leave me some love!


